POSTED FEBRUARY 6, 2021
***CONTRACTORS INSTRUCTIONS LISTED UNDER EACH ROOM
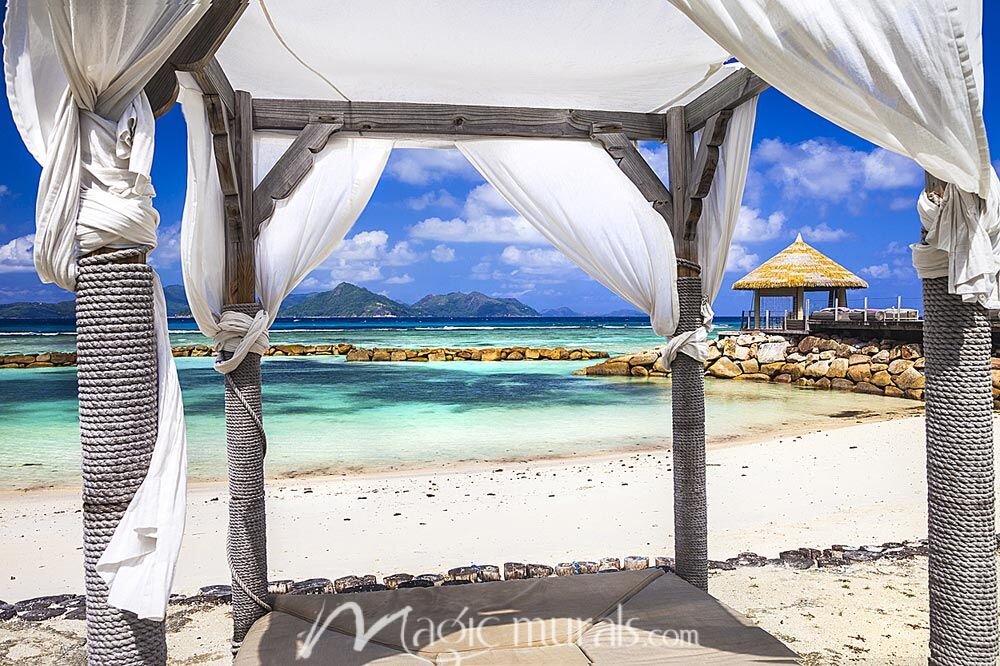
OFFICE RELAXATION
ROOM 2 CLUB CHAIRS

These will match everything in the ROOM 2 and are well priced
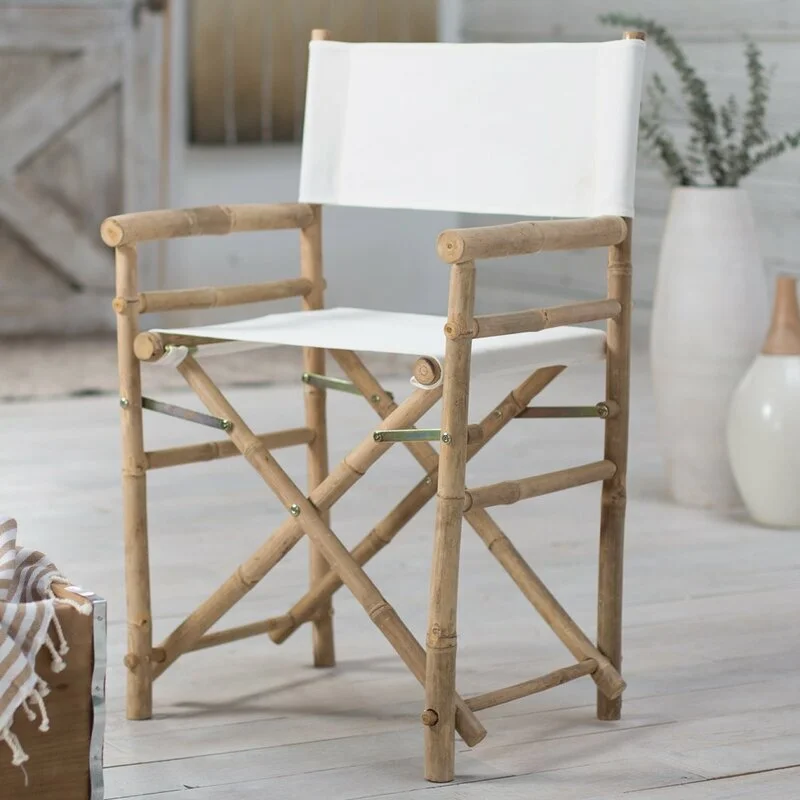
WAITING AREA CLUB CHAIRS

Waiting Area Club Chairs
Office Relaxation
3D Conceptual Design
Video
ROOM RENDERINGS
(more to come)
Posted 2/1/21


ROOM 1

CONTRACTOR ROOM 1
-Paint Room, walls & ceiling with FLAT color listed below
-Use Wallpaper Hanger to hang mural
-Run electric through wall for Sconce as indicated on plan (bottom of sconce 5’6” from floor)
-Run electric
-Mount Mirror above storage unit or behind massage bed per client’s wishes
-Mount to mural wall at ceiling a 1” X 1” across at top of wall where wall meets ceiling.
-Mount LED strip to bottom of 1” X 1”
-Mount 3/4” X 6” on face of 1X1 (covering Led)
*See elevations below:


FLOOR TO CEILING MURAL ON FAR WALL

Mural Company will call you to pay for these 3 murals that I already sized (you will get me discount)

PAINT WALLS ONLY W/ BEHR (M240-2 Pinch of Pearl FLAT)

ORDER (1) 3’ X 5’

ORDER (1)
Choose a Chair:

ORDER 1
ORDER 1
ORDER (1)
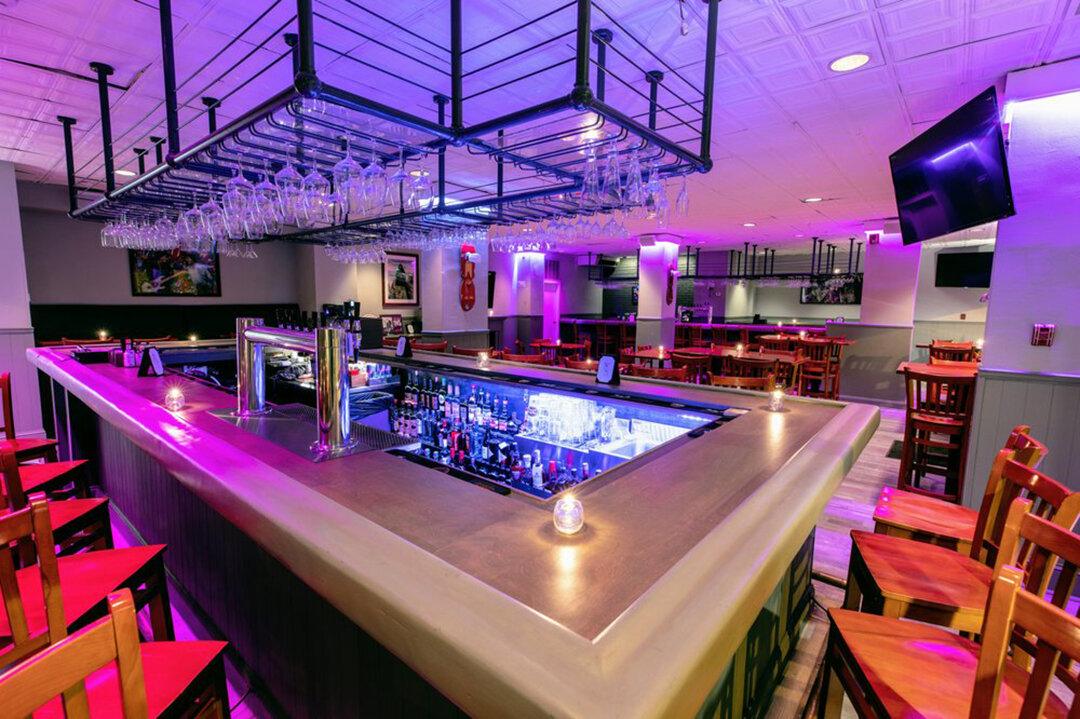
ROOM 2
client waiting area

CONTRACTOR ROOM 2
-Paint Walls & Ceiling Flat Black, Paint Far wall with Mural “Satin”
-Run electric to sconce and a power source for the LED
-Hang Mural starting at 40” above floor (Mural is approx 34”-36”H so it won’t go to the ceiling but will fade into the black paint
-Run 1” X 1” at 39”H above floor at mural height
-Mount LED on TOP of 1x1 shining upwards
-No cover piece is needed as the banquette will be the cover and the light will shine up onto the mural from behind the banquette
-Hang curtains at ceiling height. 2 panels gold, 2 panels black 2 panels gold then perpendicular to the wall 2 panels black as indicated in video.
-Mount sconces at 5’ above floor centered on wall at 18” apart (18” os space between each)


For Curtains above, order (2) Pair Gold (52X84) which is 4 panels and order (2) Pair Black (52X84) which is 2 panels

Bourbon Mural above Gold & Black Banquette, LED lit from behind banquette, shining up
For bourbon mural, chick this link and duplicate order above


Order (2) coffee tables above
Choose 1 Rug:

For rug above, click rug and order (1) 4’ X 6’

Order (2) sconces above SCONCE W/ DIMMER ON RIGHT WALL (MOUNT WITH BOTTOM OF SCONCE 5’6” FROM FLOOR)
PAINT EXISTING RECTANGULAR MIRROR WHITE AND MOUNT ON WALL OPPOSITE MASSAGE TABLE AS INDICATED
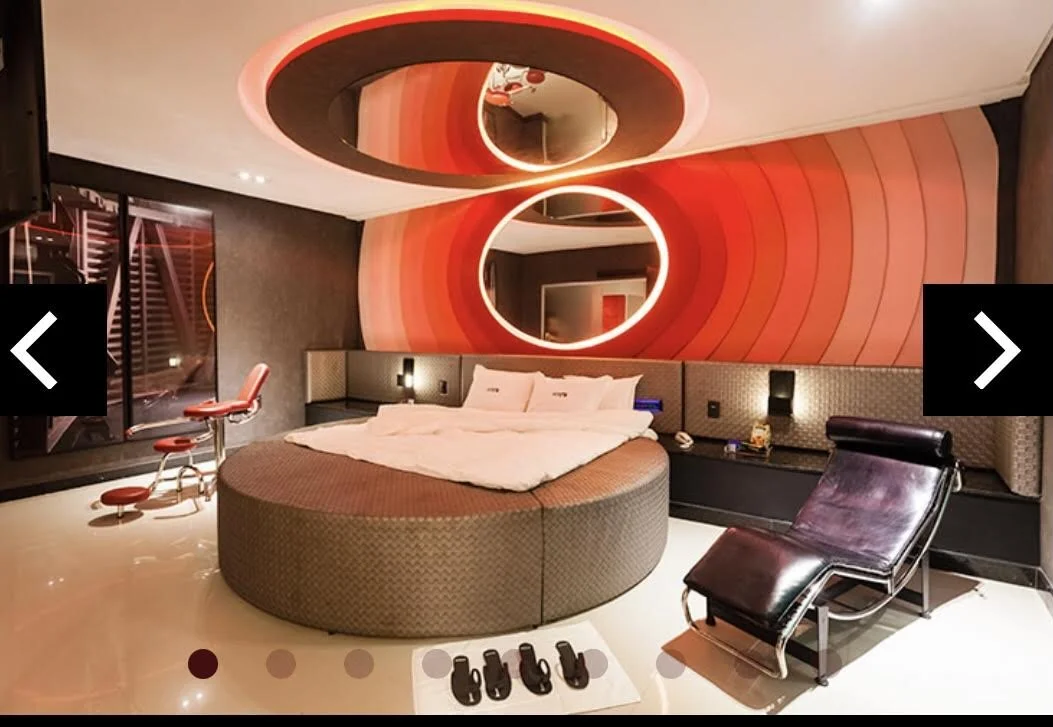
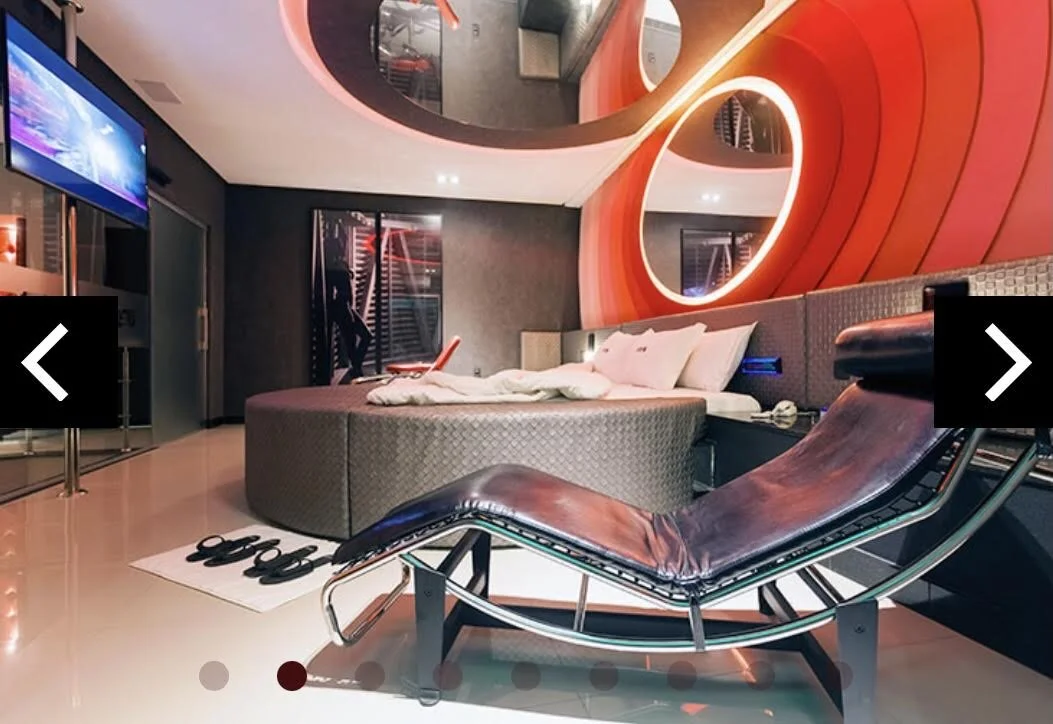
ROOM 3

CONTRACTOR INSTRUCTIONS:
-Run electric to sconce and to power source for LED
-Paint walls & ceiling with Purple color indicated
-Center 60” X 60” mural on bak wall
-Mount a 1” X 1” frame around mural
-Mount LED on 1x1 on outside of 1x1 facing out and on inside of 1x1 facing in
-Mount 3/4” X 6” cover directly over 1x1 (1x1 should be in center of frame cover so LED light is covered (see elevation below)
-Mount 4 Headboard Panels as indicated in Elevation below
-Hang sconce above throne (throne is 76”H, so center height between ceiling and top of throne 28” from back wall)


HEADBOARD
Each panel is 11’6” X 39”, mount panels on wall vertically as shown below, the outer panels on start at floor level, the center panels start at 15” above floor


PAINT WALL WITH P100-7 Sultana Textured Low-Lustre Enamel Interior (FLAT)

WALL MURAL SET IN IN 6” LED FRAME AROUND PERIMETER OF WALL (SEE ELEVATION DETAILS BELOW) ON FAR RIGHT WALL (PAINT FRAME IN BEHR ECC-10-2 Jet Black Satin Enamel Interior)
Order QUEEN so it covers the sides

Click on rug and order (1) 4’ X 6’
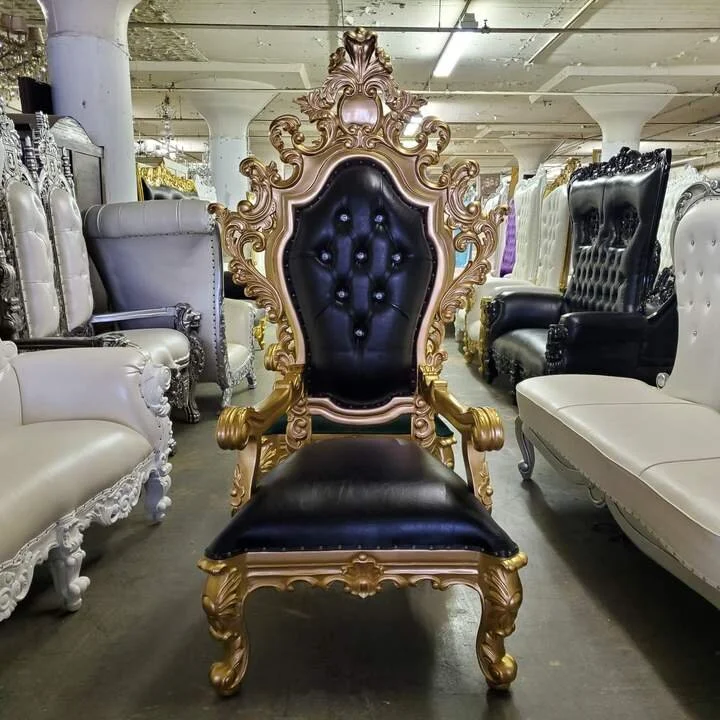
ORDER (1) THRONE. PLACE CHAIR IN FRONT OF MURAL IN RIGHT CORNER AS INDICATED ON PLAN
ORDER (1) LIGHT


ORDER (1) GOLD MIRROR ORDER (1) BLACK STORAGE UNIT, ORDER (1) BLACK & GOLD COCKTAIL TABLE
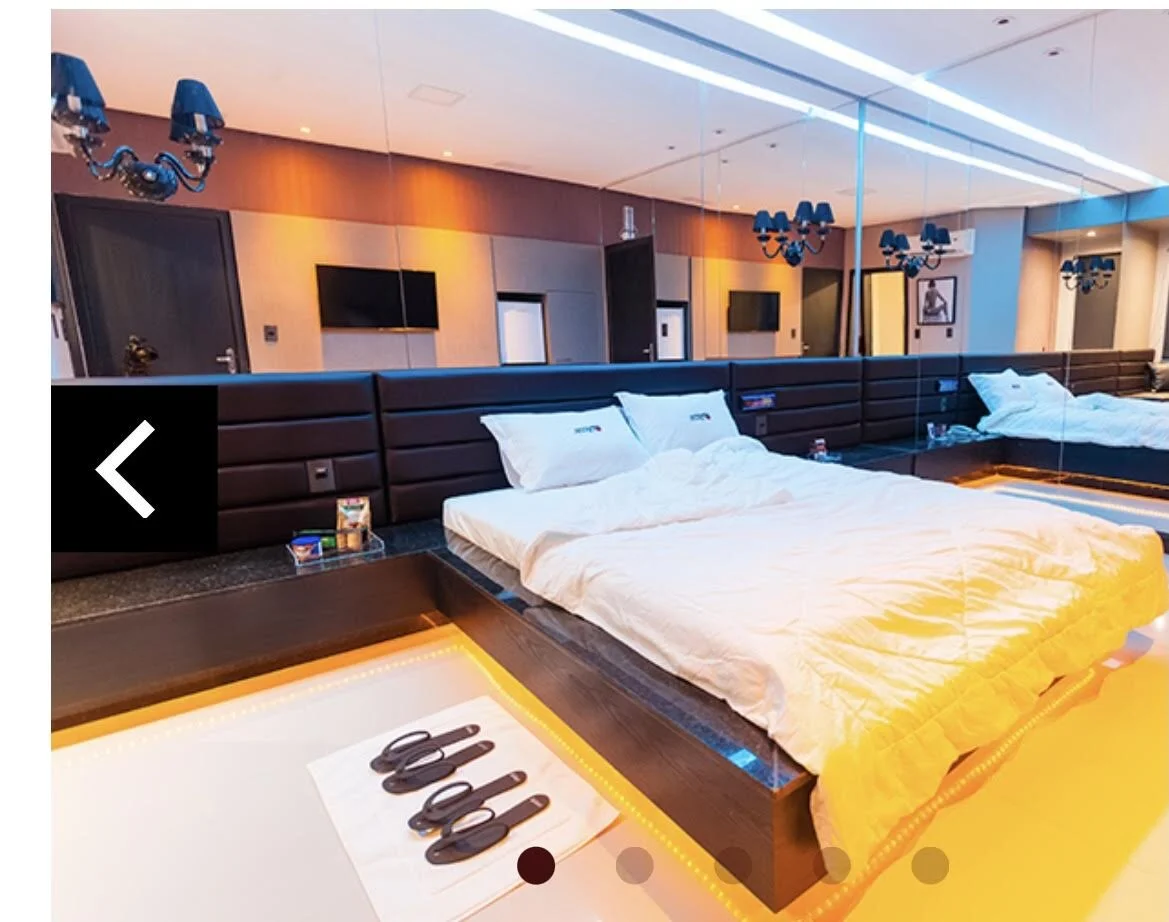
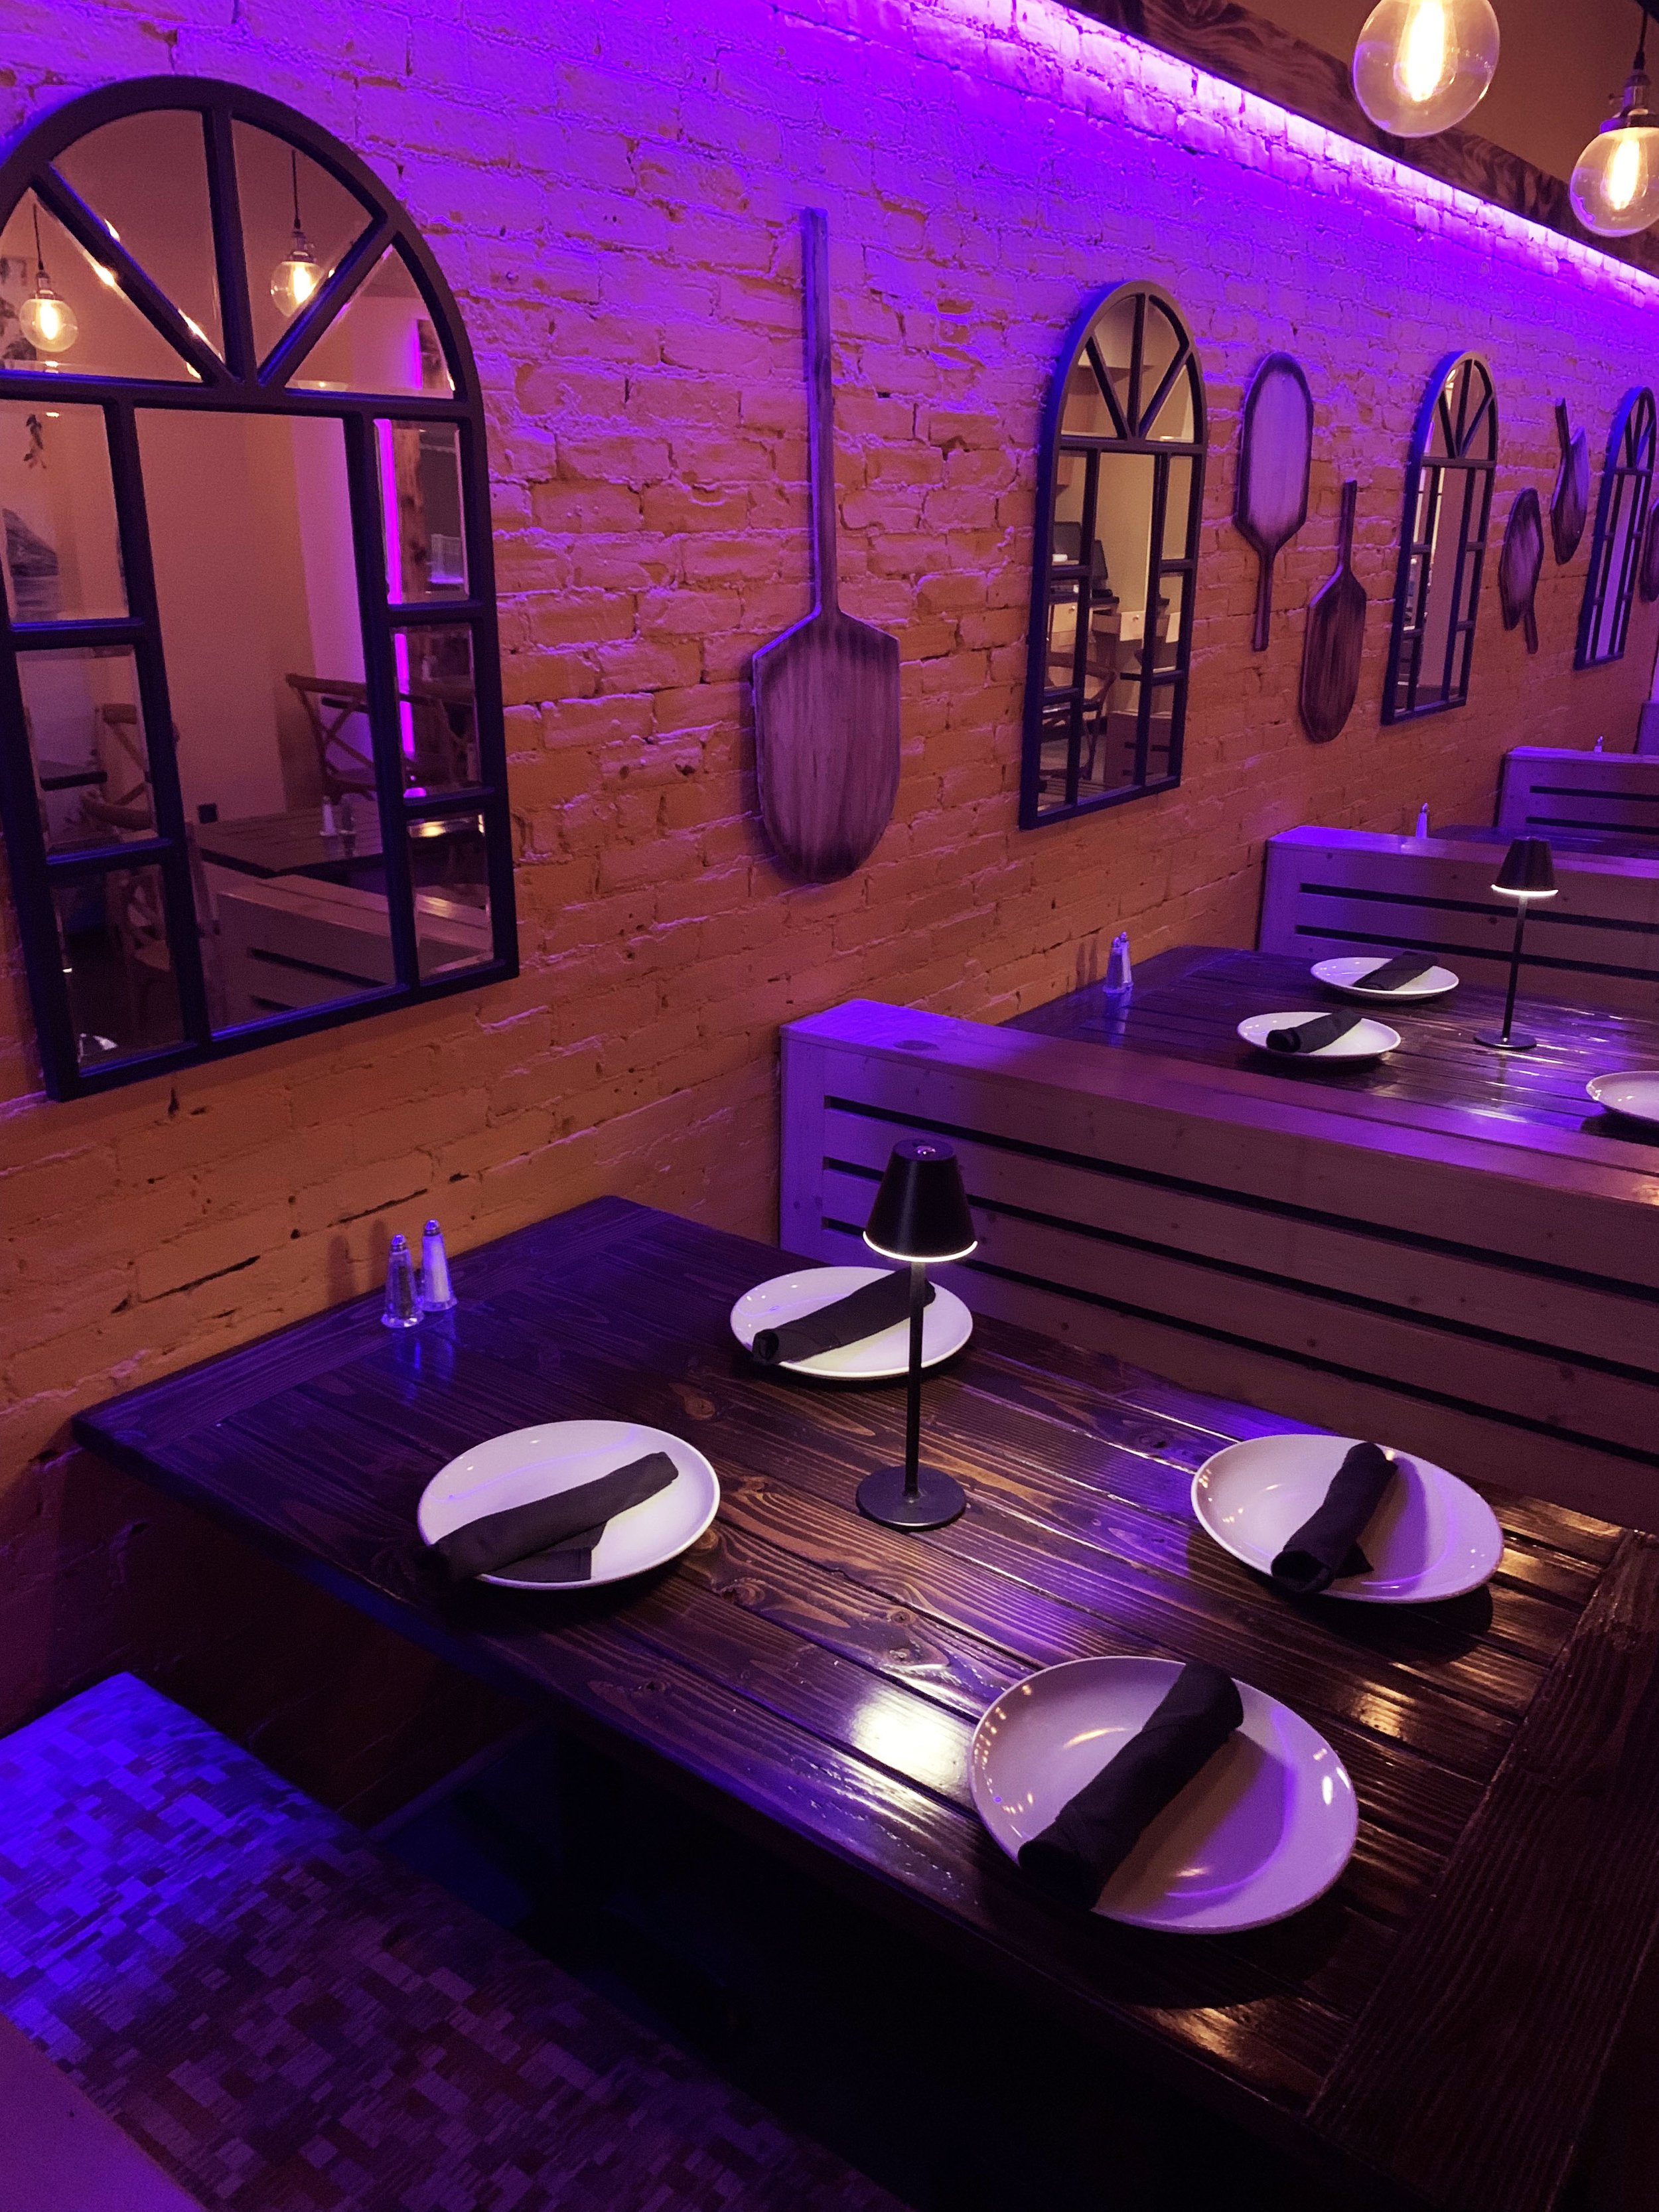
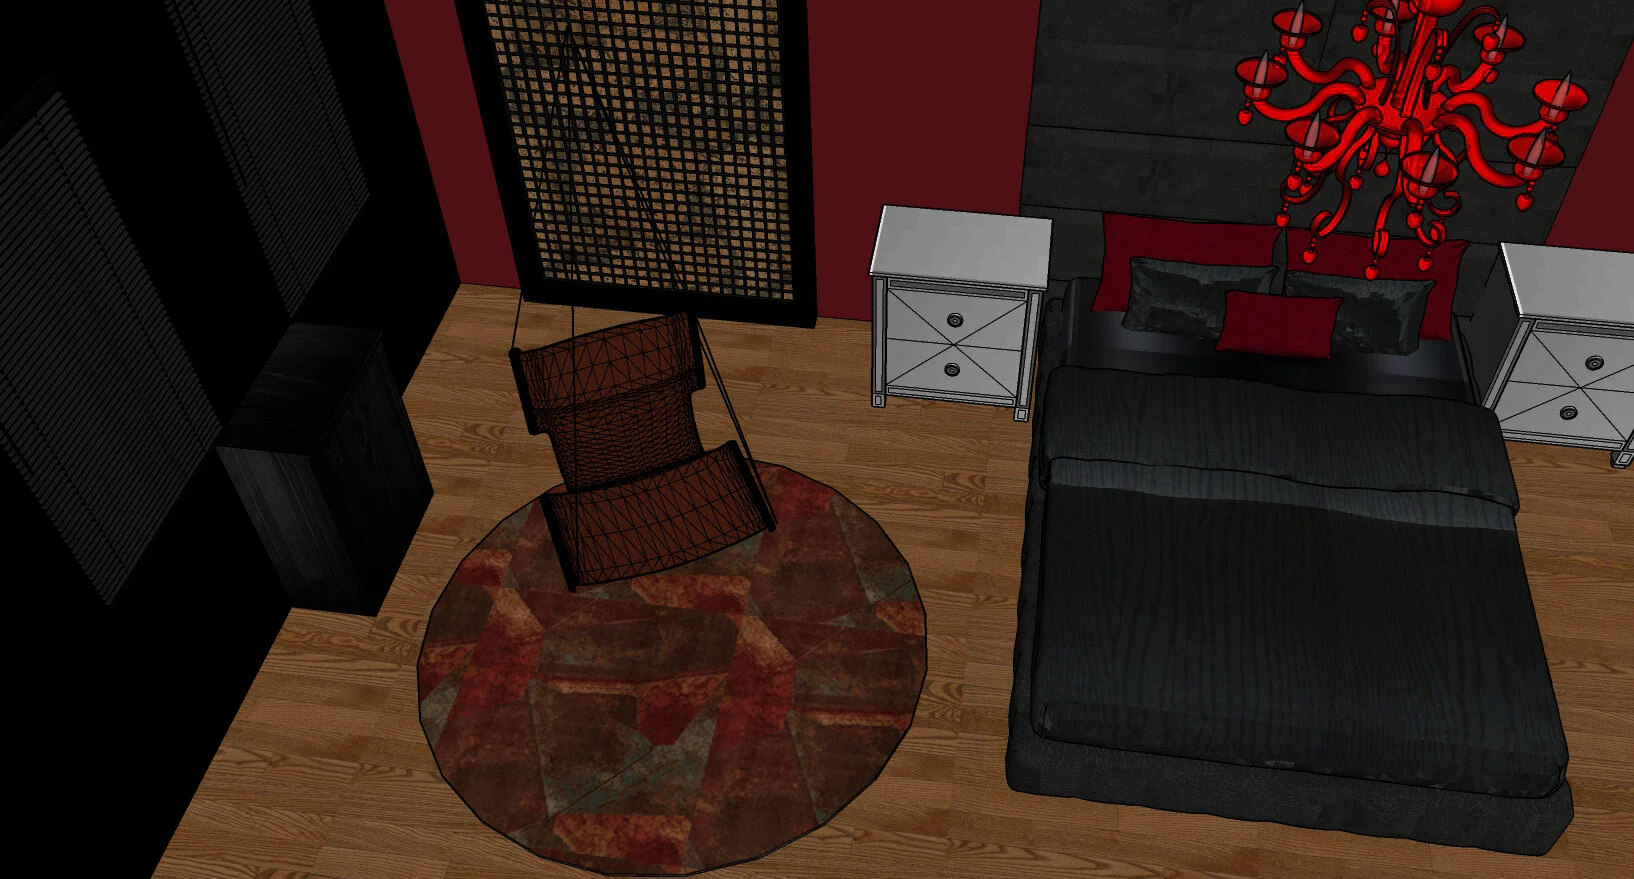
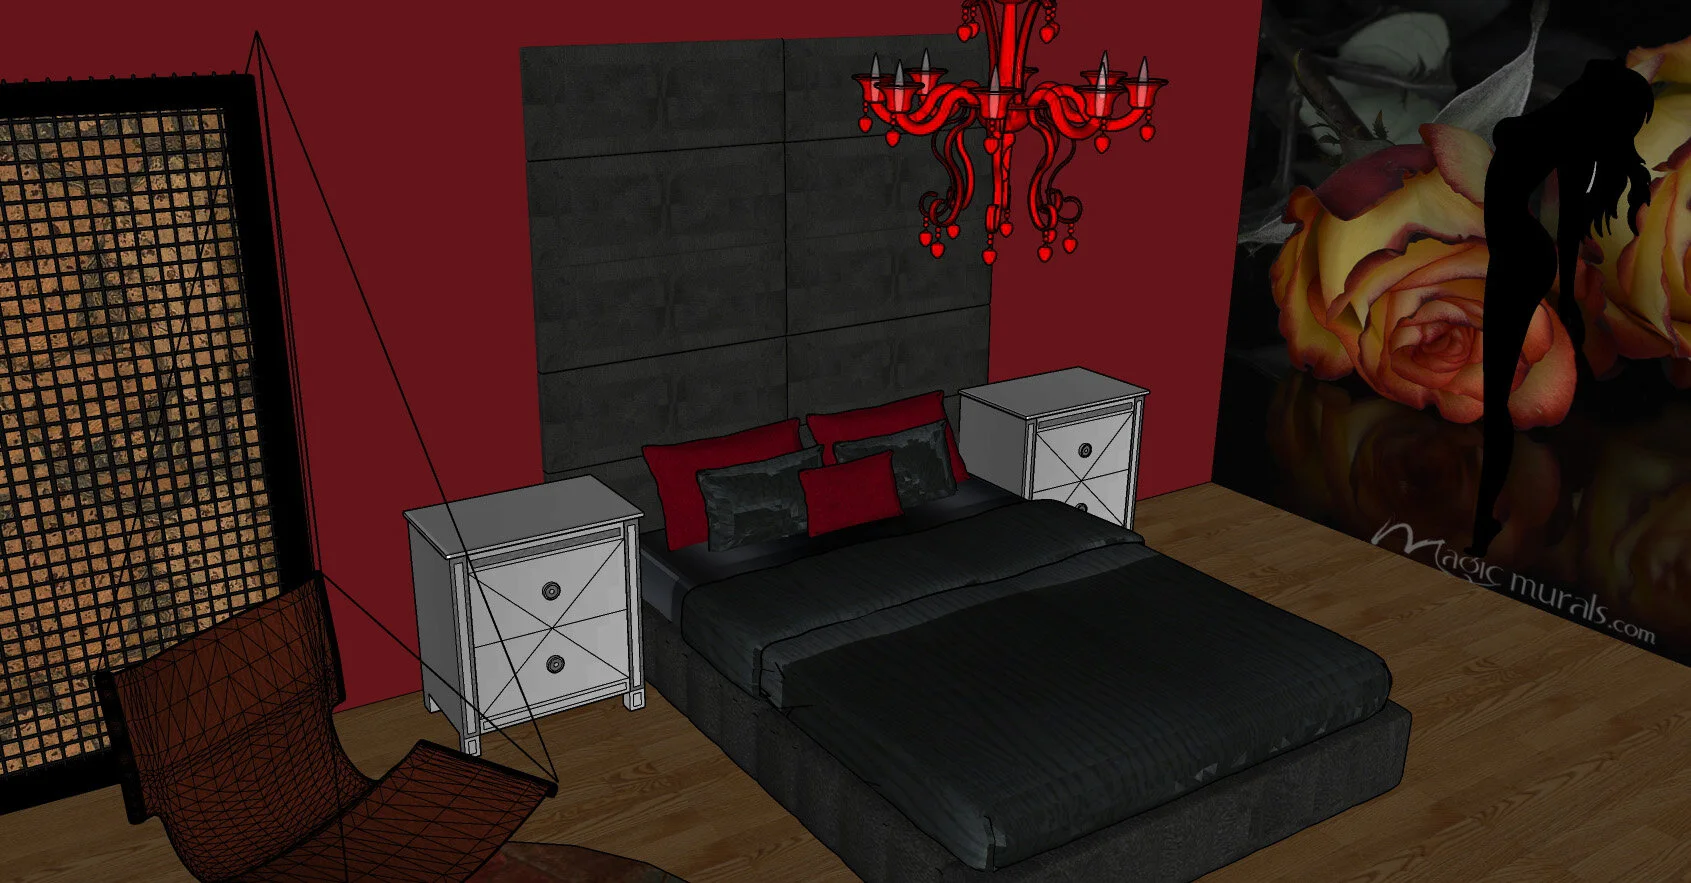
ROOM 4-5


click and order 35 tiles
CONTRACTOR INSTRUCTIONS
-Run Electric for chandelier (center over bed in center of room) and to Cork & Metal grid area and to silhouette lady
-Paint room & ceiling
-Hang Mural floor to ceiling, wall to wall
-Frame Mural with 1”x1” all the way around, install LED strip to inside of 1x1, then cover with 3/4” X 6” frame
-For Cork & Metal Grid see elevation below. 3/4” X 3” frame mounts to wall, fill interior of that frame with cork tiles. Cover with metal grid, then place additional 3/4” x 3” frame over top of metal grid.
**NOTE, contractor to source metal wire mesh as only a small amount (48” X78”) is needed
-Mount silhouette lady in center of mural to 1” X 1” frame work with Led wrapped around outside edge (see elevation)
-Headboard is 4 panels vertically on top of 4 panels vertical as indicated in elevation
MURAL WALL WITH SILHOUETTE LADY


CORK & IRON GRID


HEADBOARD

HEADBOARD

LED WASHED WALL MURAL ABOVE BANQUETTE ON FAR WALL

ORDER (1) ROUND RUG

Silhouette back-lit against Purple Rose Mural

WALLS & CEILINGS PAINT WITH Home Depot BEHR #P160-7 Stiletto Love Flat
Silhouette Images

ORDER (1) GLASS CHANDELIER

ORDER 3 PACKS OF 4 IN BLACK (2 PACKS FOR ROOM 4-5 (4 Panels vertically on top of 4 panels vertically) and 1 pack for ROOM 3 (2 outside panels vertical from floor and 2 inside panels vertical starting 24” from floor)

ORDER (2) MIRRORED SIDE TABLEES


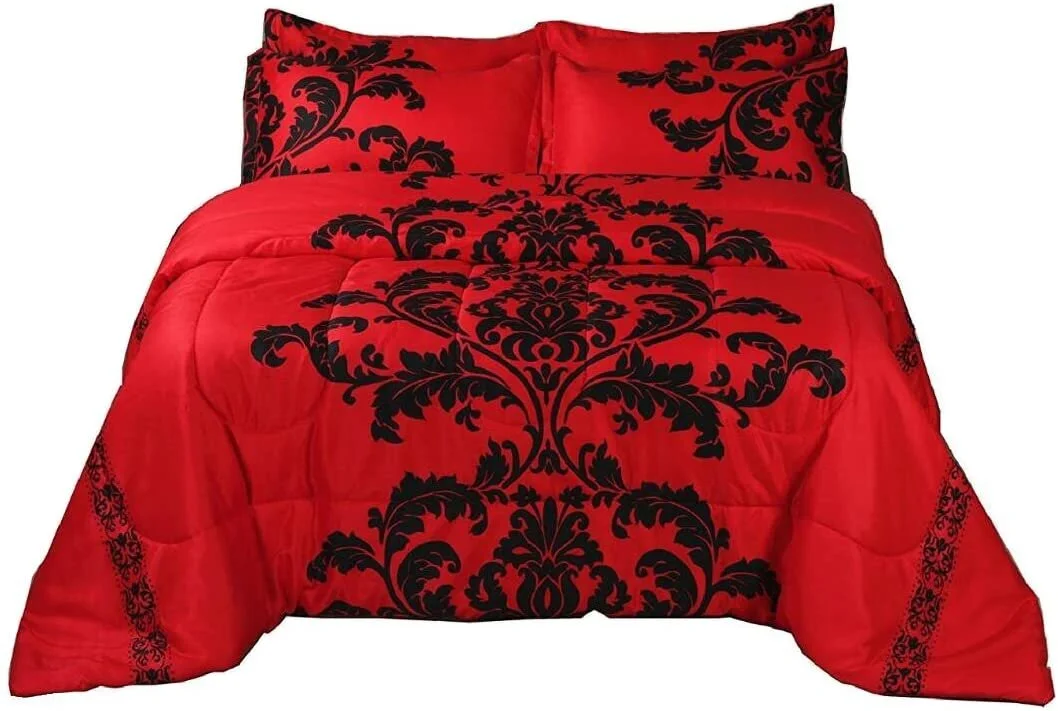
Order the QUEEN, so it will almost hit the floor
SELECT A YOGA CHAIR AND ORDER (1)
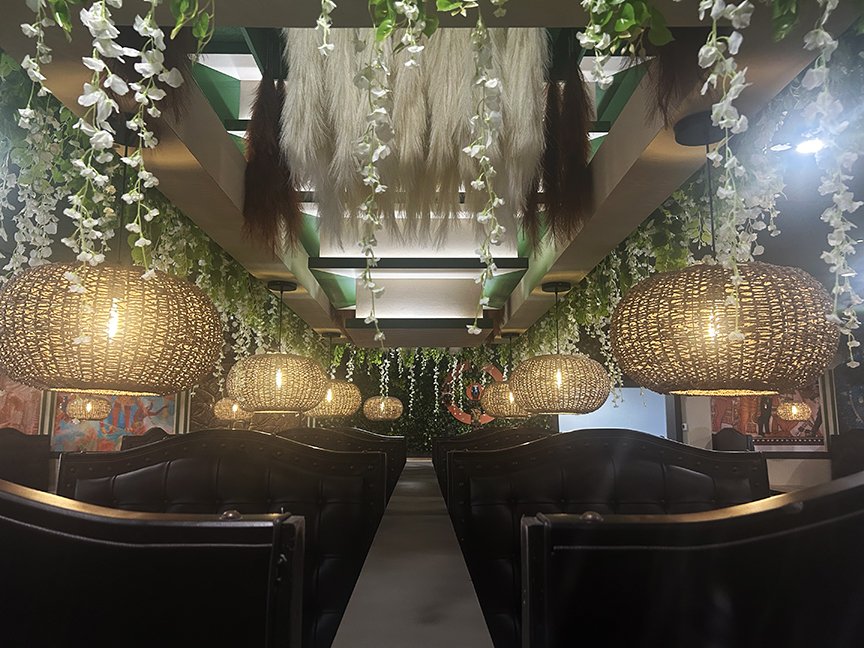
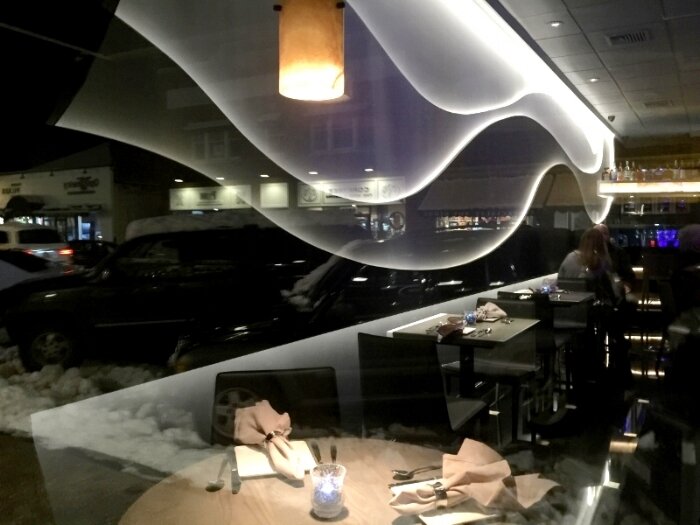
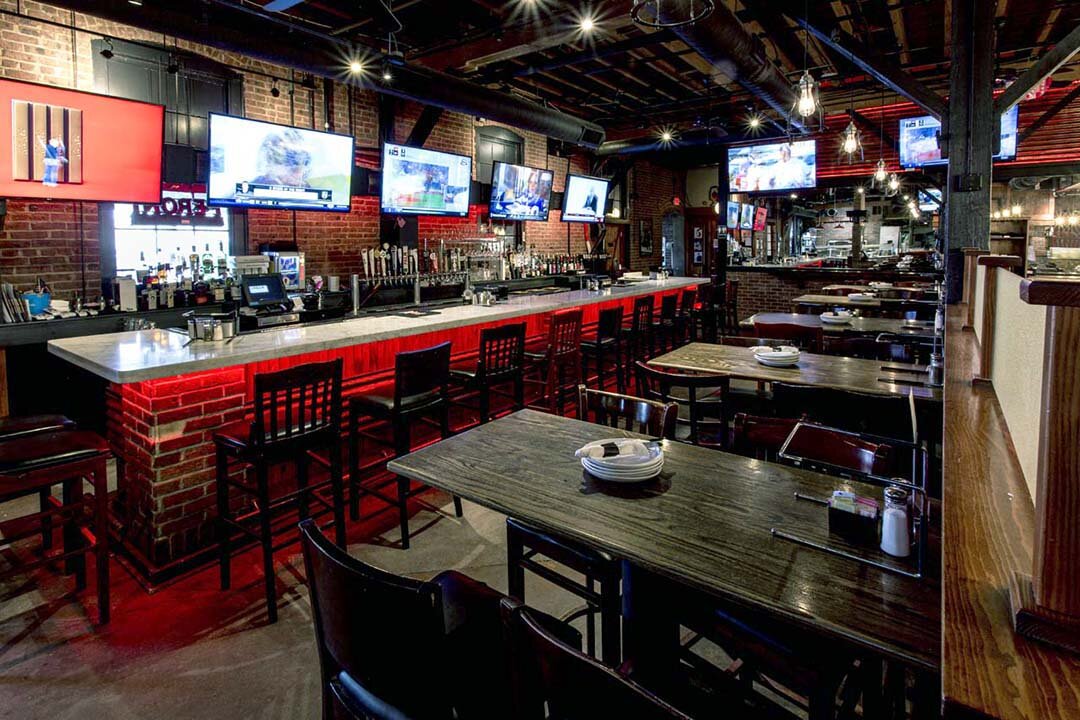
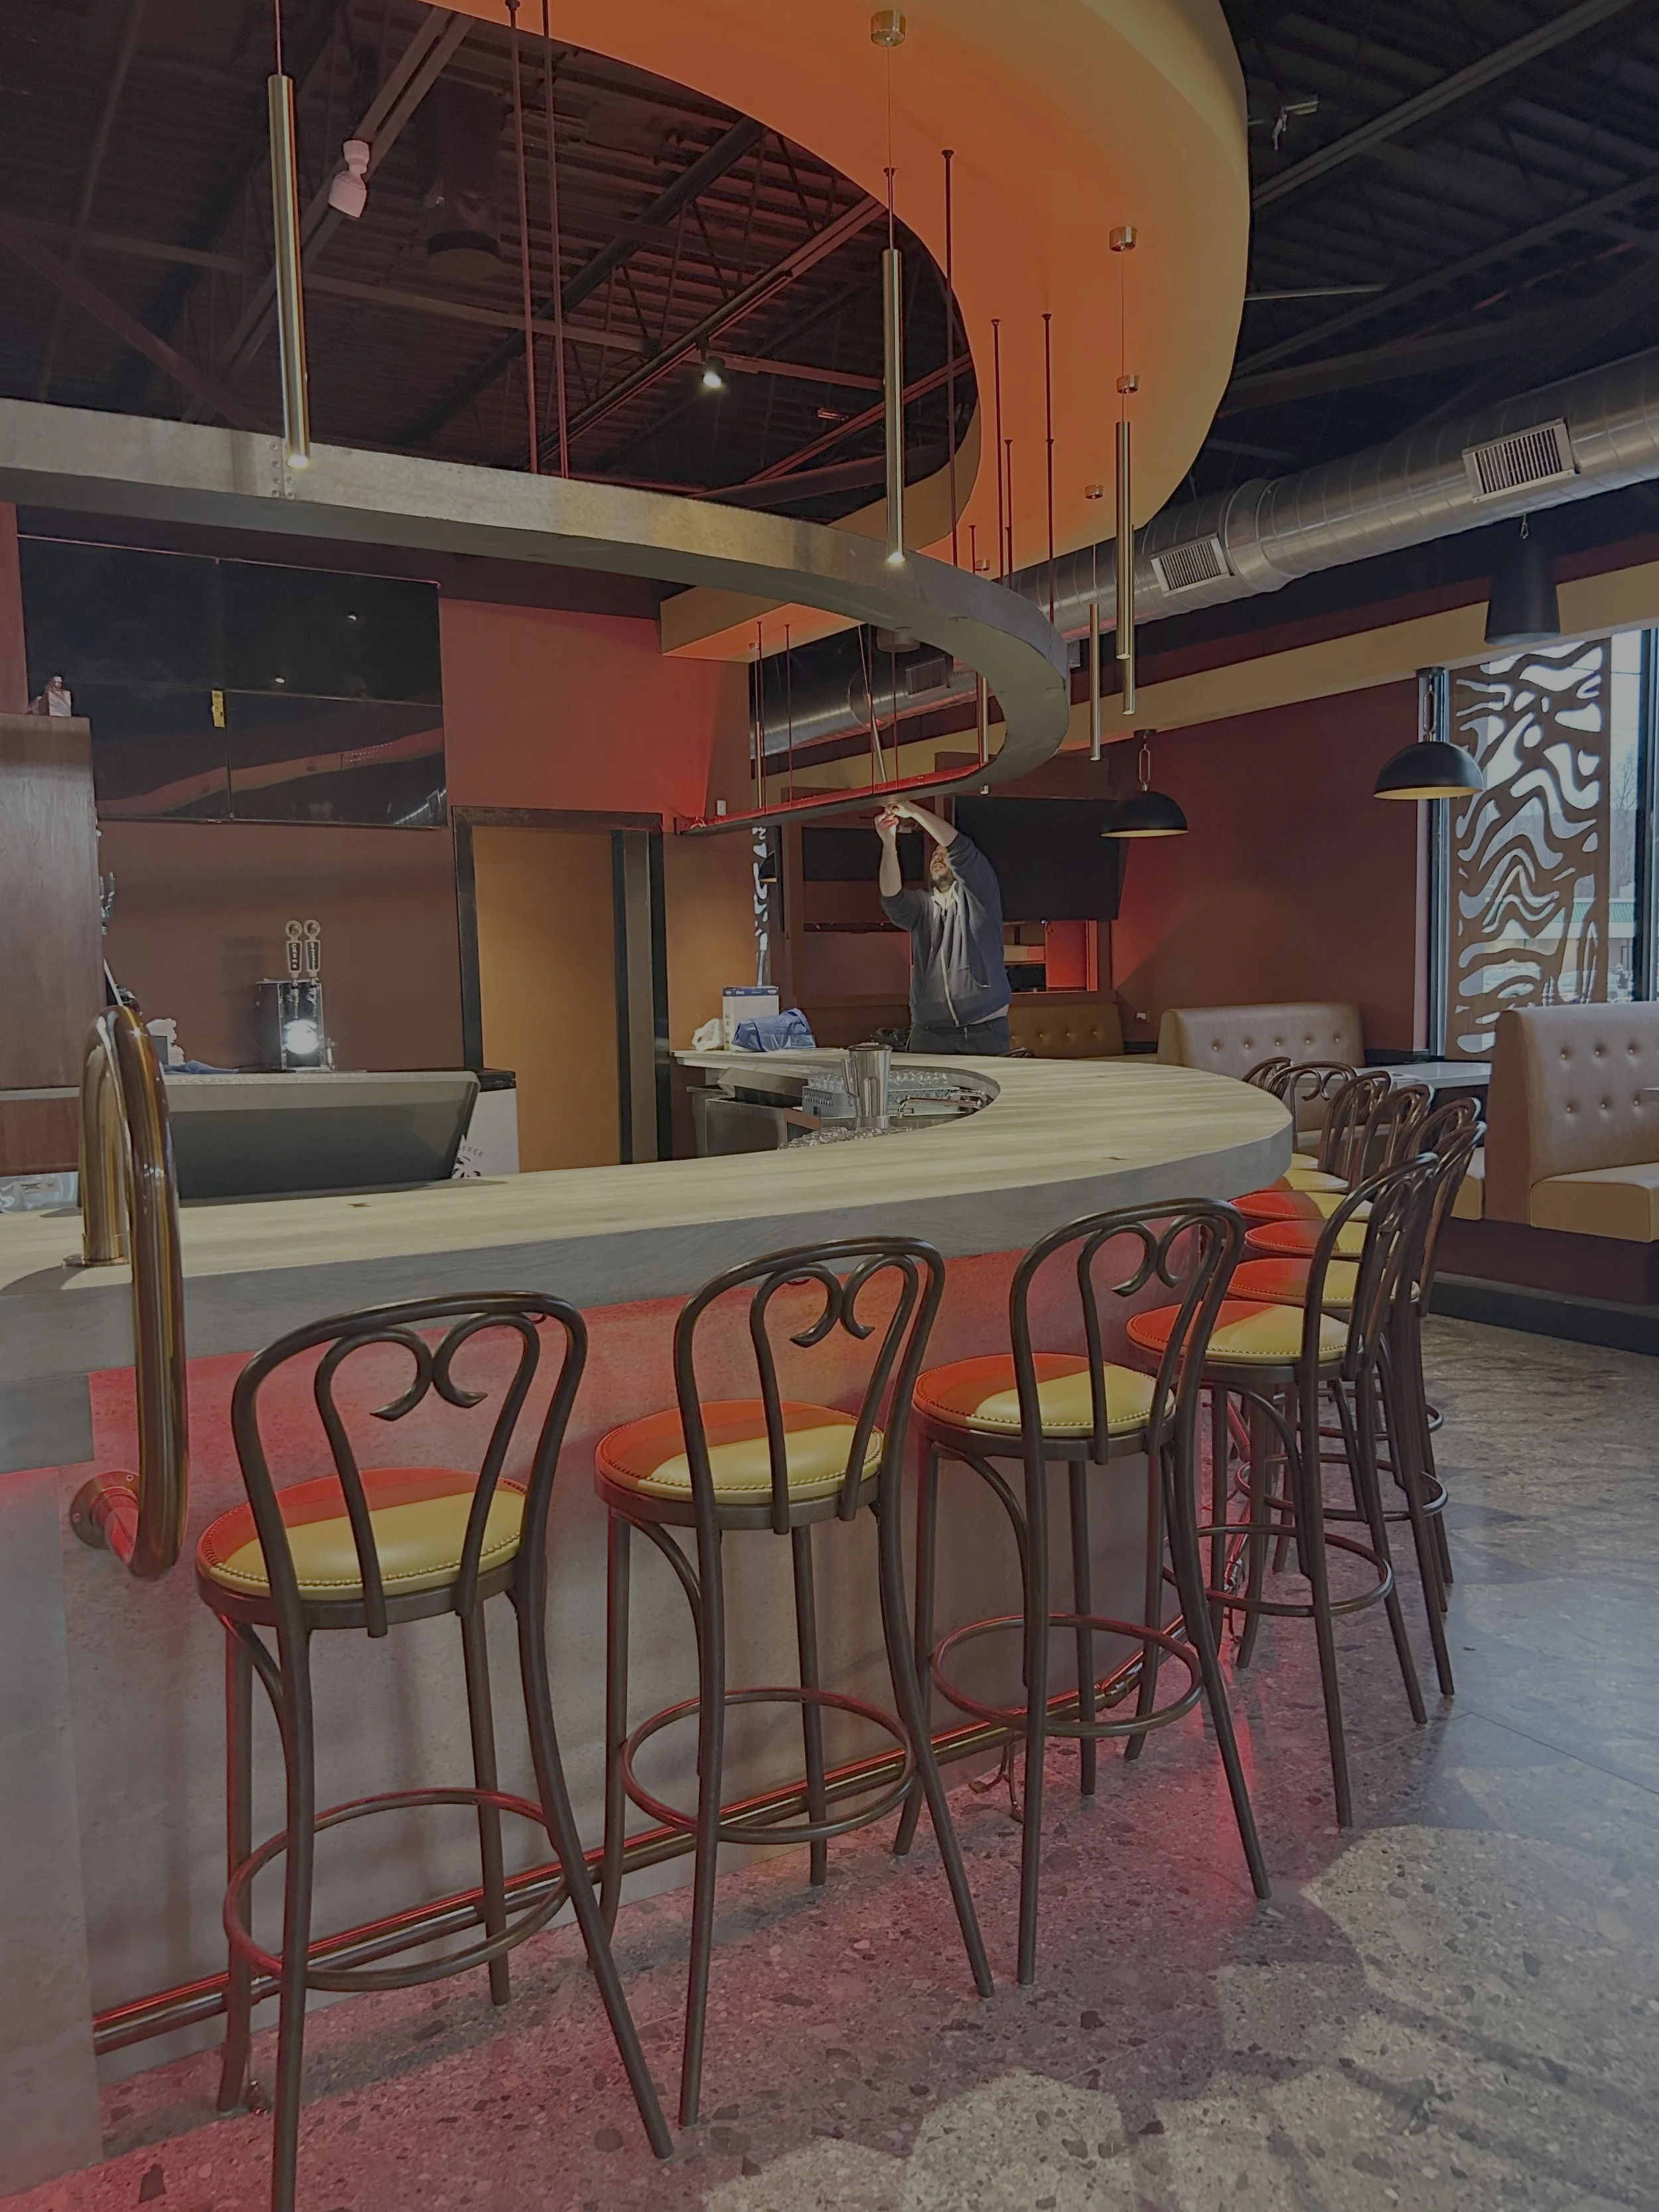
WAITING BAR AREA & RECEPTION AREA

CONTRACTORS INSTRUCTIONS
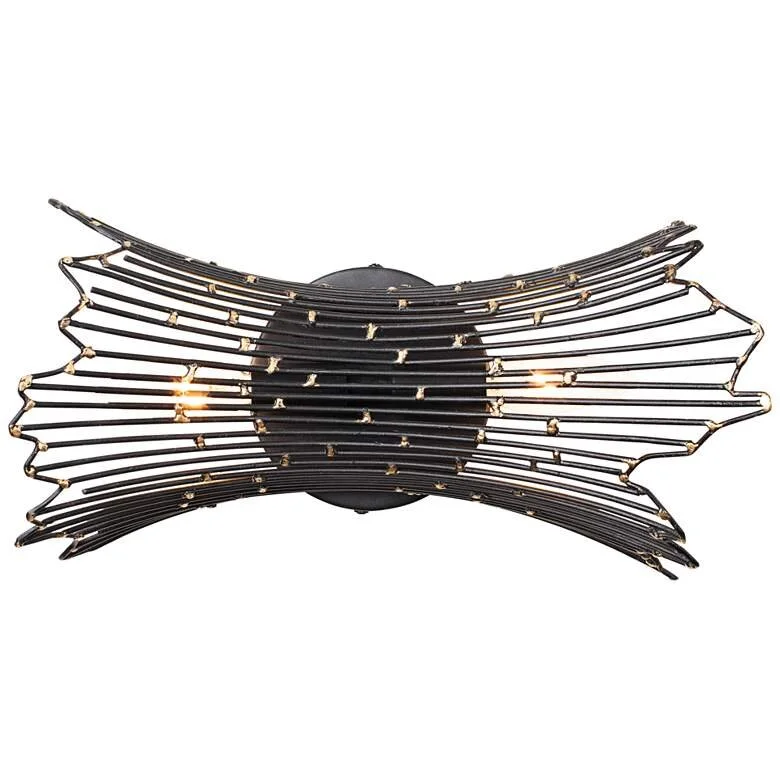
-Run electric to sconce (mounted 5’6” from floor in center of wall)
-Run electric to LED wave
-Paint darker gray color on lower part of wall line as indicated in sketch.
-In waiting area and in reception area mount 3” smaller wave (use 1” plywood for small wave)onto wall centered at 56” from floor. Wrap in LED tape light around small wave, then place painted large wave cover (Burch for larger wave (smoother and better for painting)
-Mount large mirror as indicated
PAINTING INSTRUCTIONS FOR WALLS OF HALLWAy, WAITING AREA AND RECEPTION AREA
-Use same colors listed below in the hallway, waiting area and reception area, leave ceiling as they are.
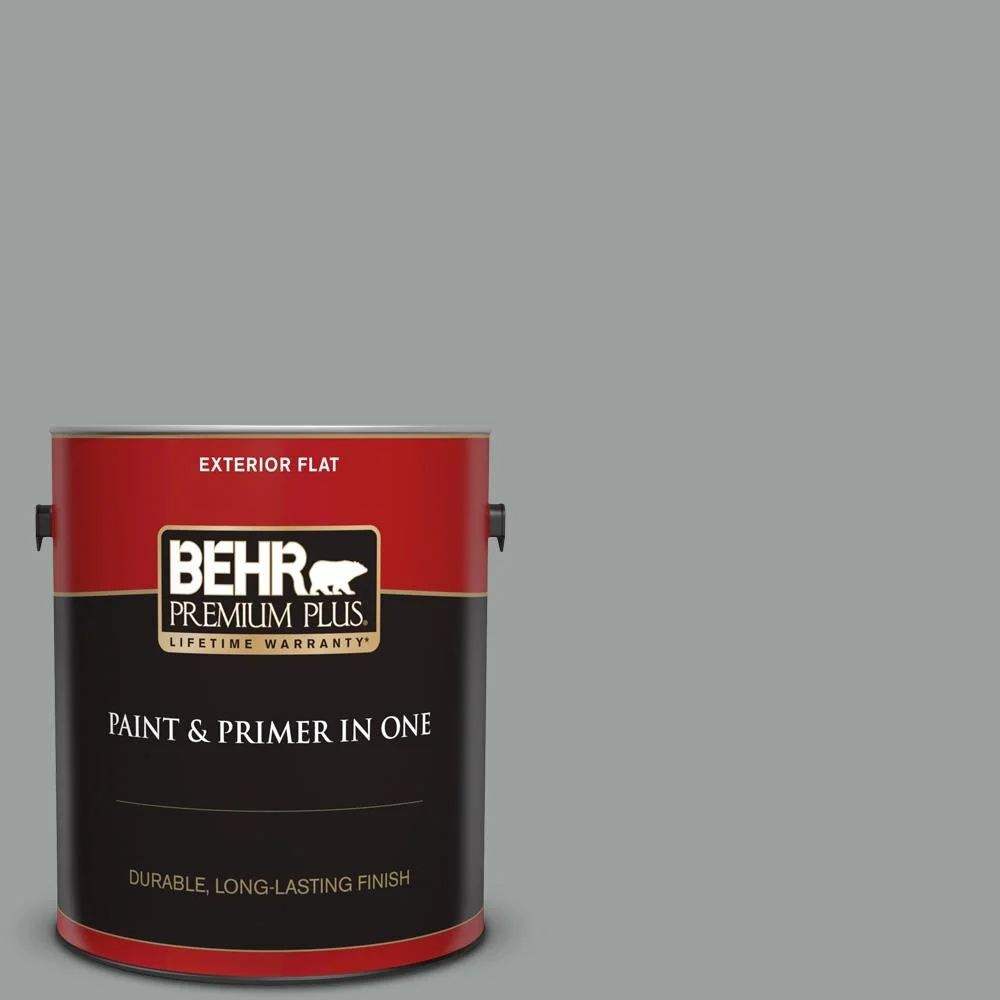
- Paint all walls with the Behr Silver Marlin FLAT light gray inducted below. Use Behr Cosmic Quest FLAT on the bottom half of the wall with the wave. Have contractor call me about doing this wave technique.
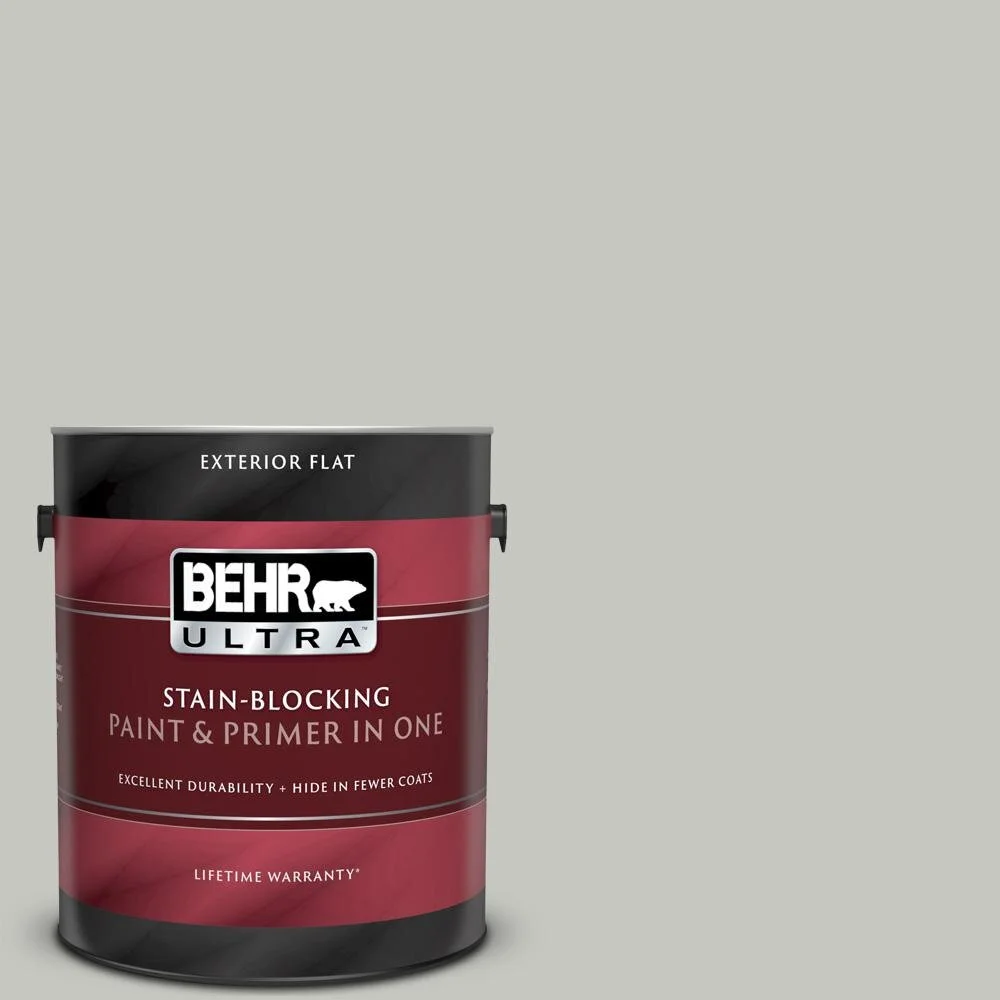
Silver Marlin Interior FLAT N360-2
Cosmic Quest Interior FLAT N460-4
WAVE WALL
Use same Wave Wall in Waiting area and Reception area

Wave Wall Dimension


Wave Wall Color is the same as Room 3, P100-7 Sultana Textured Low-Lustre Enamel Interior (FLAT)

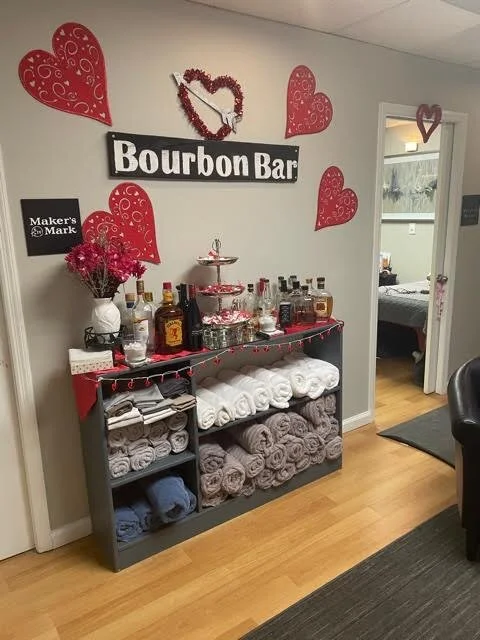
ORDER (1) TIERED LIQUOR DISPLAY Place on center of towel cabinet in waiting area as indicated on plan

ORDER (1) SCONCE)

-Below, Burch Fabrics “Cinder” for 72”L X 42”H banquette in waiting room


OFFICE
FLOOR PLAN
1/21/21

To give you an idea, LED Wave for Reception but only 1 layer, not 4
REVISED DOOR PLACEMENT
1/21/21


EXSTING SPACE & ROOMS


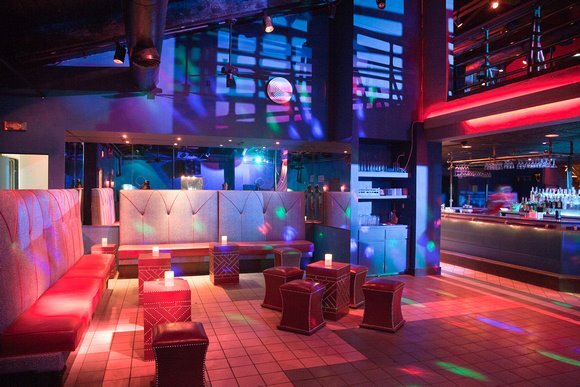
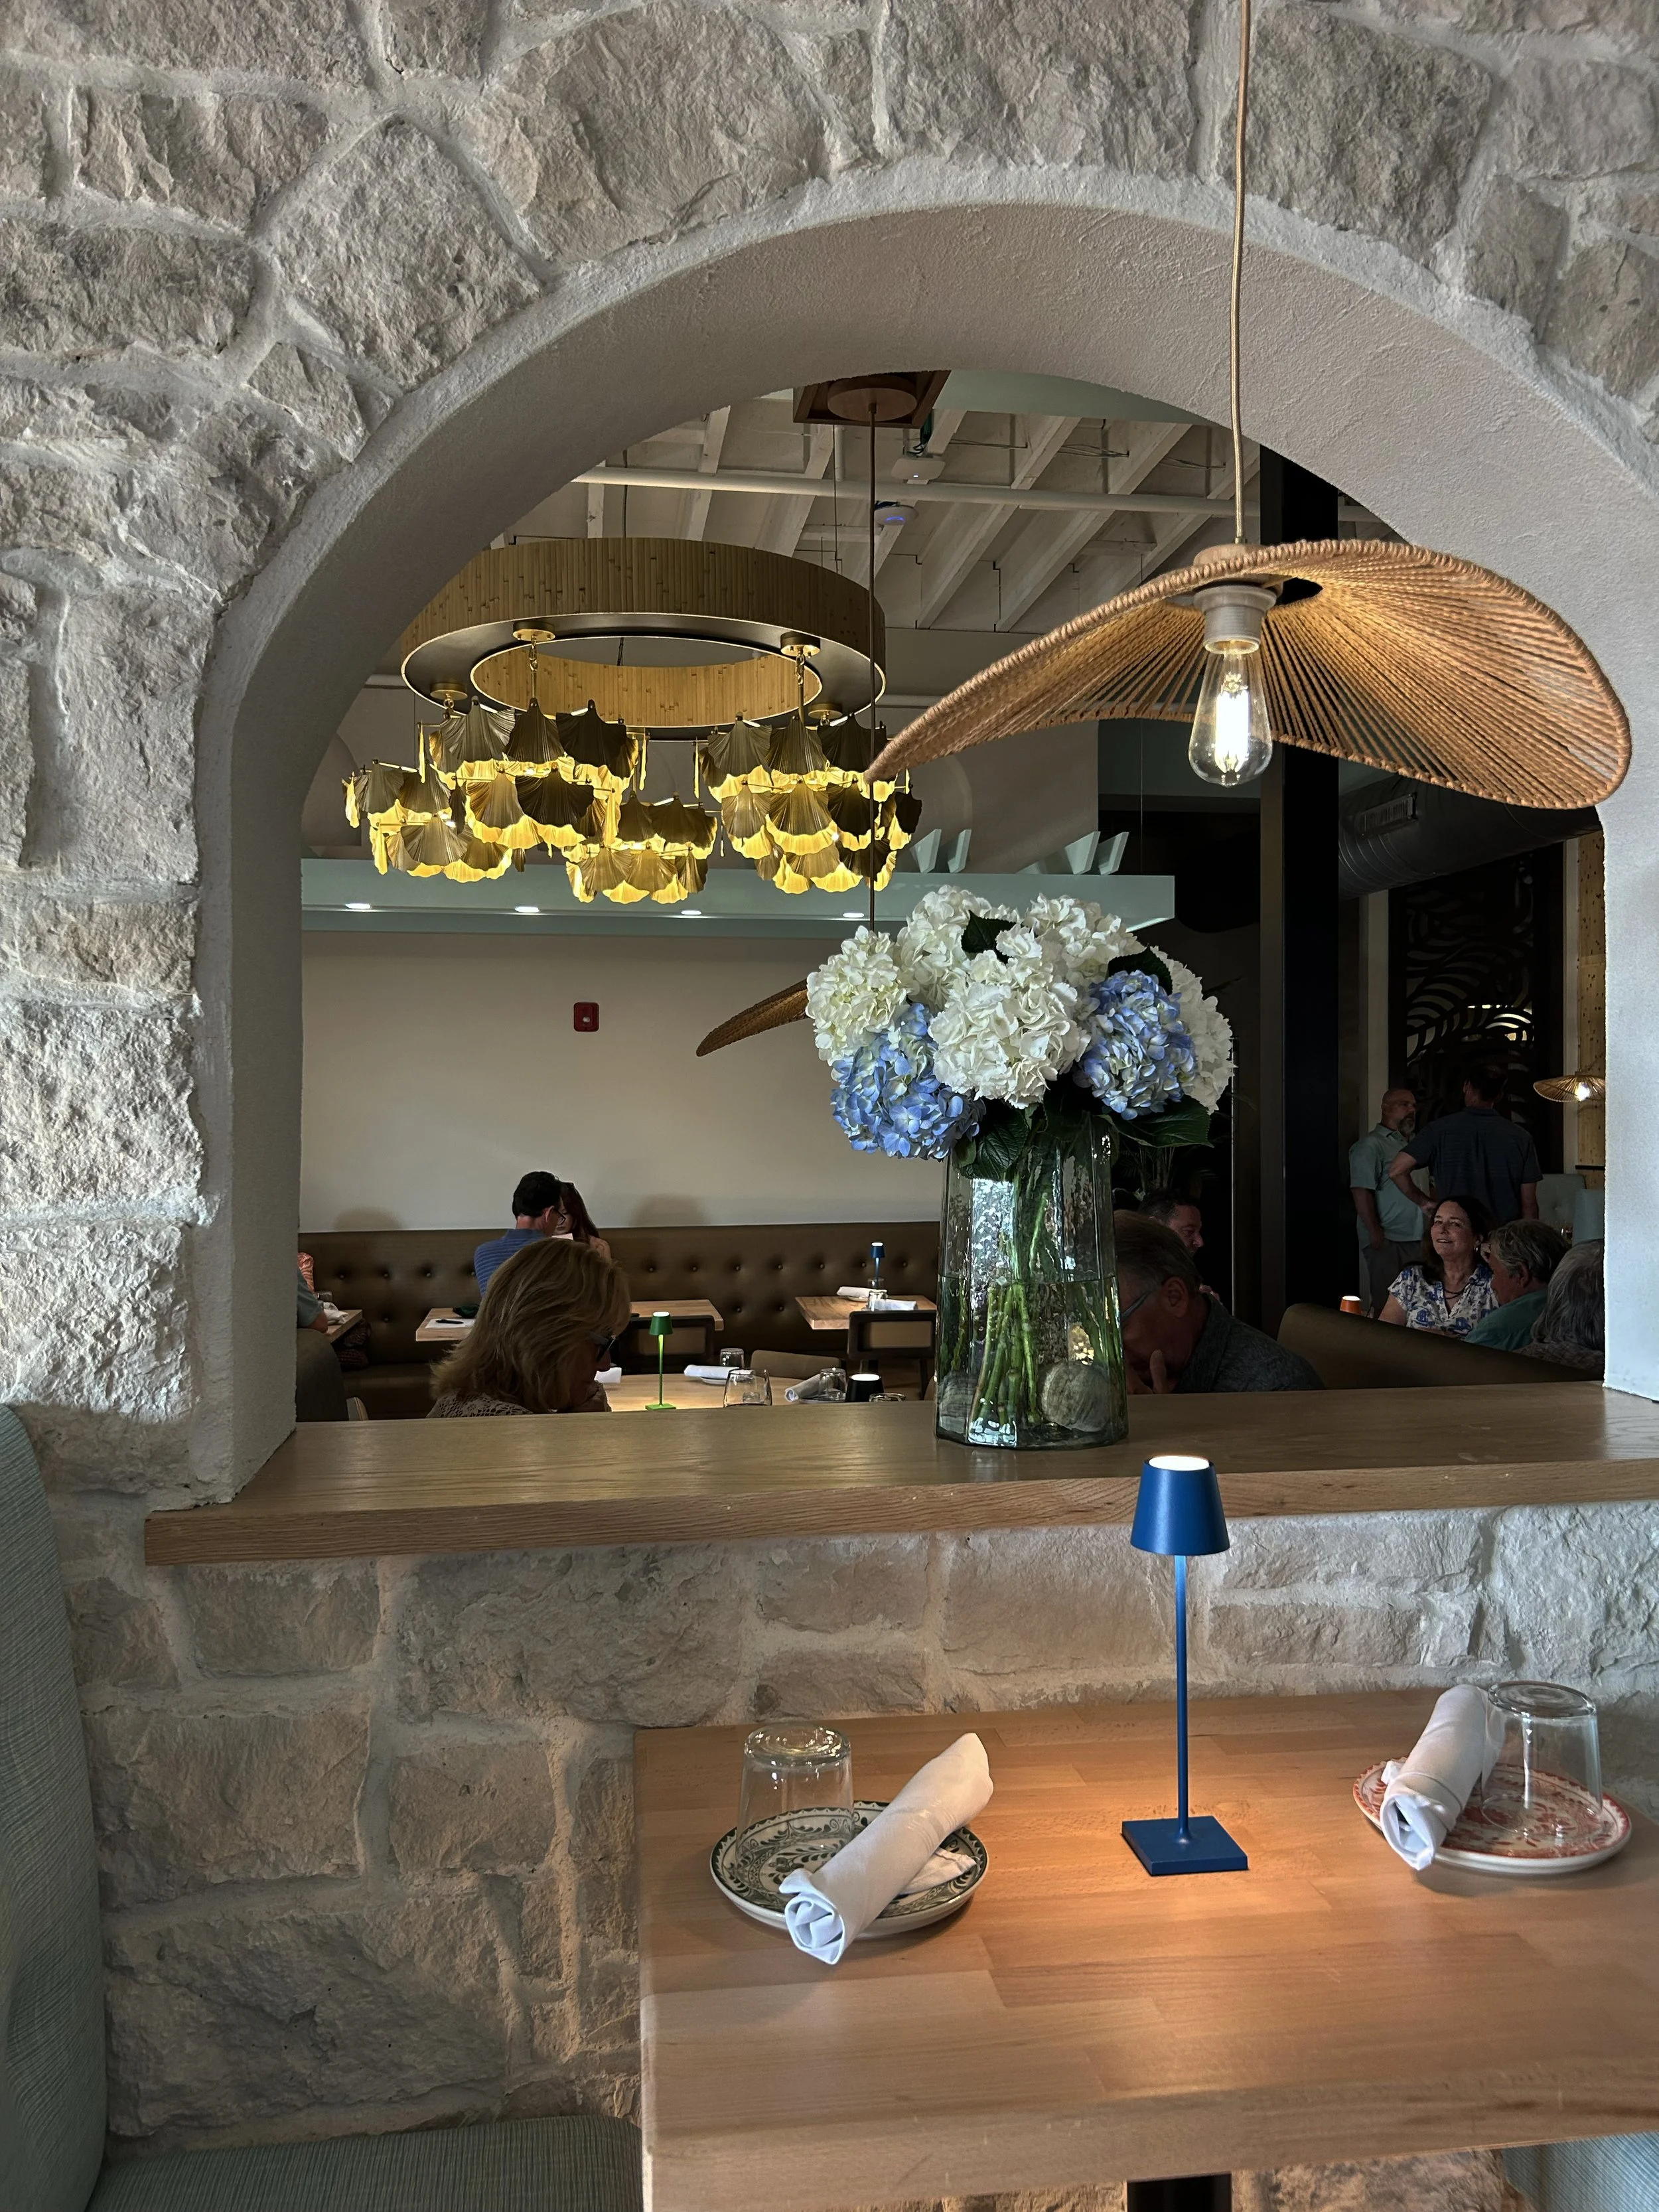
INSPIRATION PHOTOS SUPPLIED
BY CLIENT